Mesh Colour
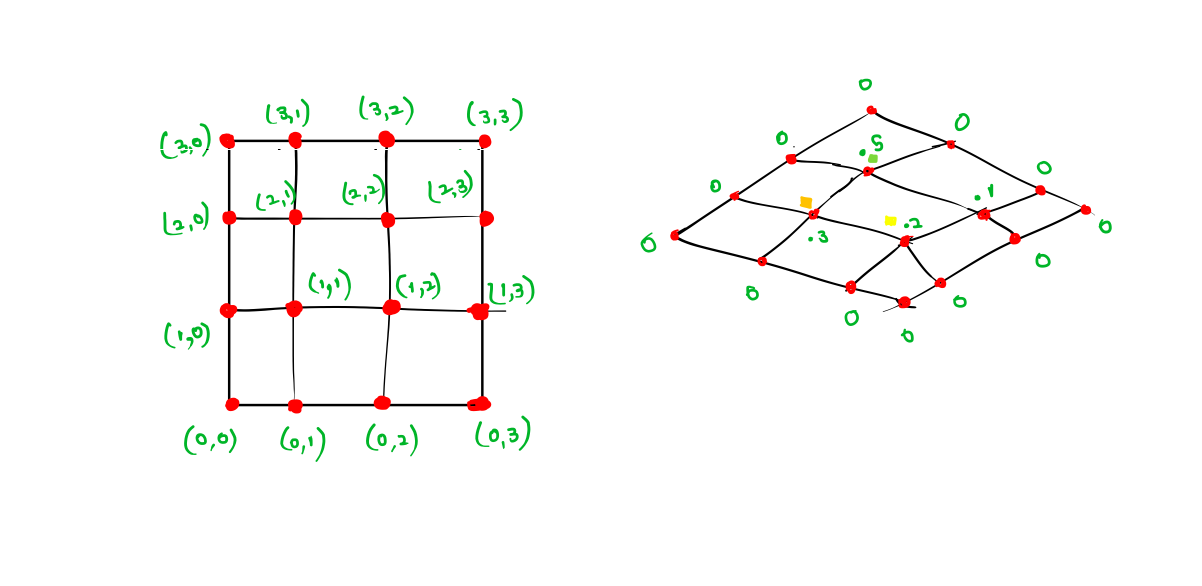
Time to start with the basic vocabulary of 3D rendering. The shape of a 3D object is defined by its mesh. A mesh is like a net of points, or vertices. The invisible lines that connect these vertices form triangles, which define the basic shape of the object.
But in addition to the shape, the engine needs to know how to draw the surface of the object. So a mesh’s data also includes its normals, which are vectors that determine which way a particular triangle is facing, and thus how light bounces off of it. Finally, a UV Map maps a material to an object, specifying how textures wrap around the shape.
In Unity, there are two primary rendering components: The Mesh Filter, which stores the mesh data of a model, and the Mesh Renderer, which combines the mesh data with materials to render the object in the scene.
Cheat sheet for your reference.
- Vertices: A vertex is a point in 3D space. Often abbreviated to “vert”.
- Lines/Edges: The invisible lines that connect vertices to one another.
- Triangles: Formed when edges connect three vertices.
- UV Map: Maps a material to an object, specifying how textures wrap around the object’s shape.
- Normals: The directional vector of a vertex or a surface. This characteristically points outward, perpendicular to the mesh surface, and helps determine how light bounces off of the object.
- Mesh: Holds all the vertices, edges, triangles, normals and UV data of a model.
We are going to unwrap UV for the terrain and attach a UV to it. First we need to understand how the UVs Work.
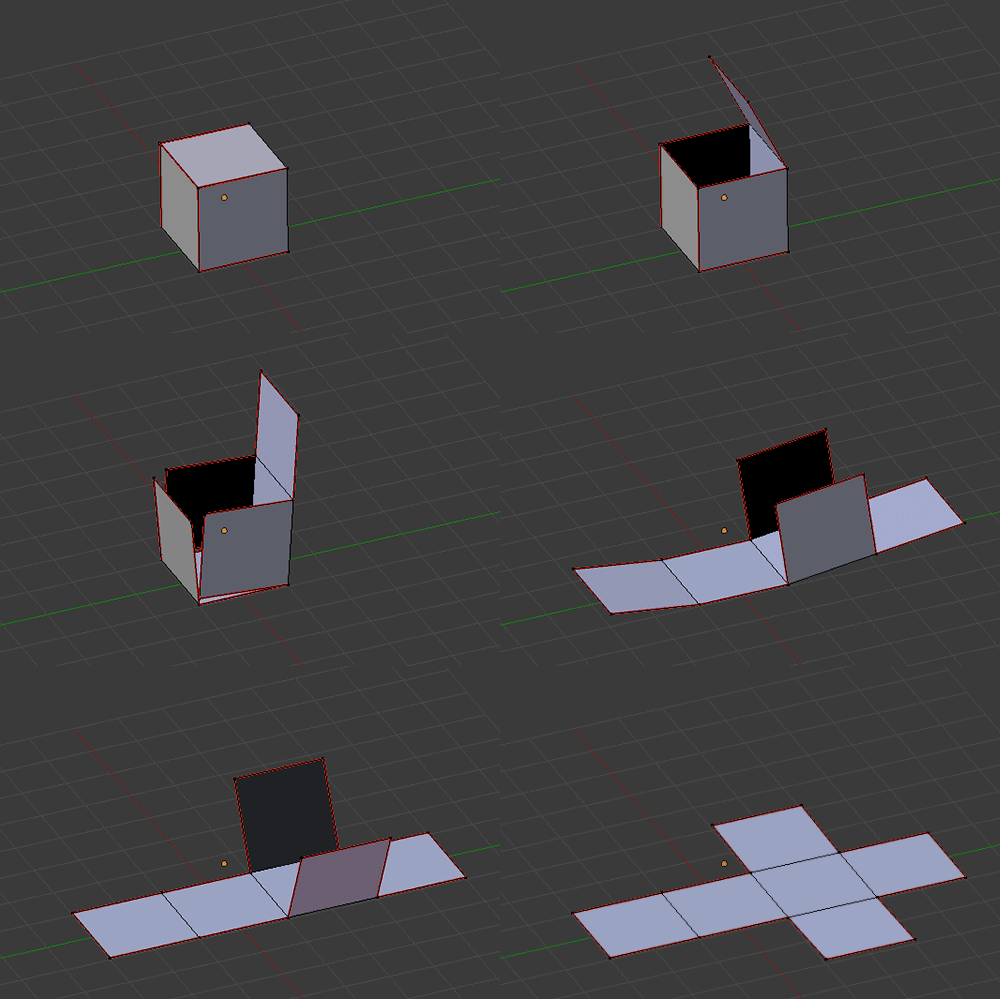
You need to unwrap to add the texture to a model or object.
The texture can be square of size 512*512 or 256*256. To know the reason why Textures should be in the "POWER OF 2" refer the article.
Unwrap the uv in this case we doesnt need to unwrap the UV as we are going to map the texture to the terrain we generated.All we need to do is go through each of the vertices and map it to the image
As the texture has a range from 0-1. but our terrain has a value of (0,0)(0,2)..It is hard for the computer to map the texture to the terrain.We cant just use the position of the vertex directly, we need to take Xpoint in img and divide it by X-size of our terrain The result is a value between 0 - 1 for the coordinates.
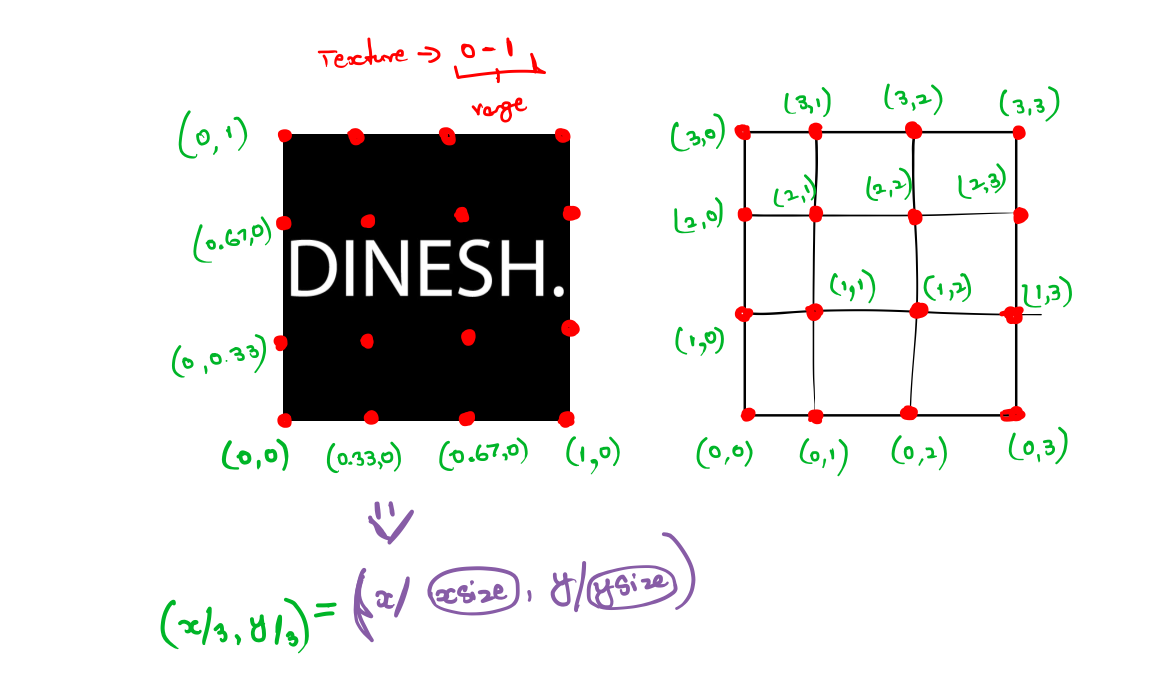
To do this in code we need array to store our UV, then divide Xpoint in img and divide it by X-size of our terrain.
UVs = new Vector2[vertices.Length];
    for (int i = 0, z = 0; z <= zsize; z++)
    {
        for (int x = 0; x <= Xsize; x++)
        {
            UVs[i] = new Vector2((float)x / Xsize, (float)z / zsize);
            i++;
        }
    }
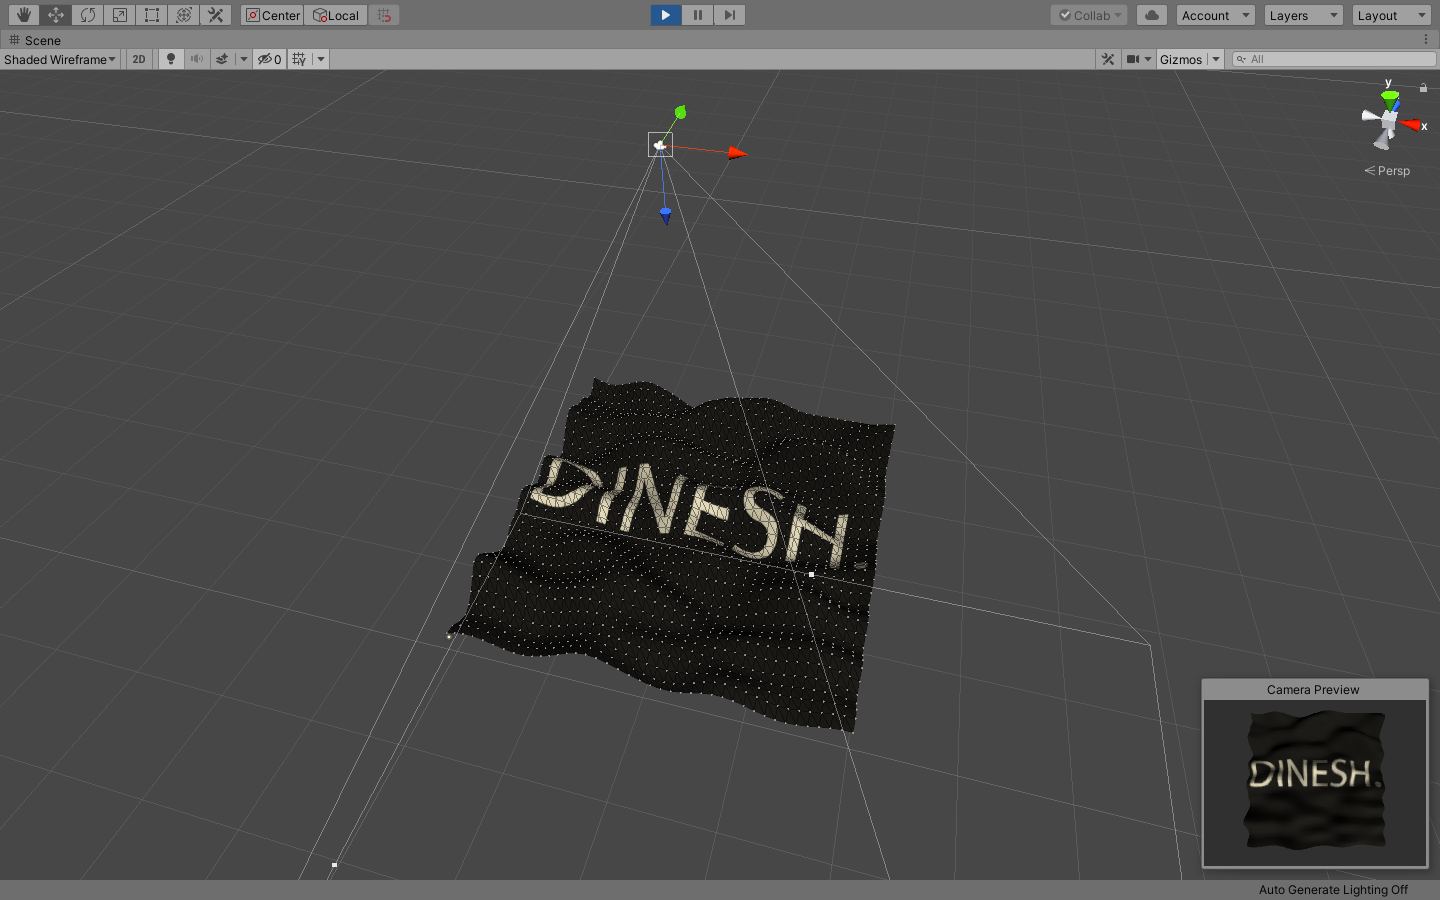
Now, we need to set vertex colors just like we did in our UVs.
We loop over our vertices and depending on our height we assign it a color to define what color to display at what height, We can use gradients.
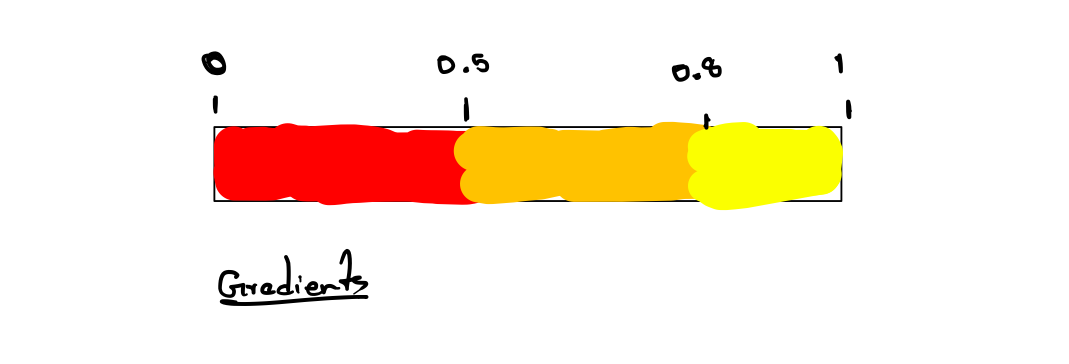
Gradients will have numbers range from 0 - 1, it will return the color at that point, the color data is then stored in the mesh and can be displayed using vertex shader.
In this, we just pass our height into the gradient function and we need to normalize our value inbetween 0-1 so we use the Mathf.InverserLerp .
colors = new Color[vertices.Length];
    for (int i = 0, z = 0; z <= zsize; z++)
    {
        for (int x = 0; x <= Xsize; x++)
        {
            float height = Mathf.InverseLerp(minheight,maxheight, vertices[i].y);
            colors[i] = gradient.Evaluate(height);
            i++;
        }
    }
we need to set our min and max height of our terrain.
if (y > maxheight)
    maxheight = y;
if (y < minheight)
    minheight = y;
Notes: As we use vertex colors to define the colors of our terrain. We can use shader graph to define a vertex color to our terrain. Shader graph -> Vertex color (node) link to Albedo of the material.